1
Open Google Sheets sync in settings
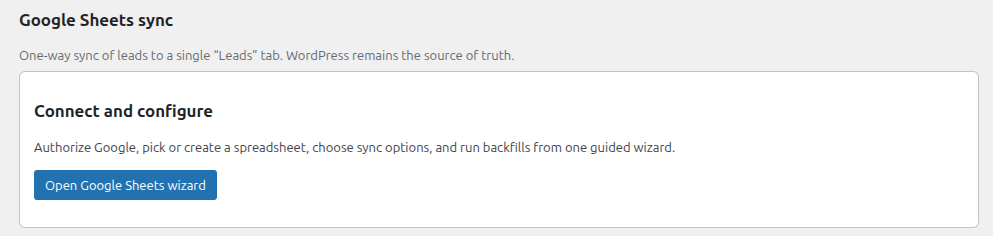
Head over to Setup in Solar Capture settings and scroll to Google Sheets sync.
- Look for the section that explains the sync goes into a single Leads tab.
- Click Open Google Sheets wizard.
This guide walks through the full Solar Capture Google Sheets sync flow. Open the wizard, add the redirect URL to your Google credentials, connect the right Google account, and decide whether to use a new spreadsheet or an existing one.
Solar Capture pushes leads one way into Google Sheets. Your WordPress site remains the source of truth, and synced leads land in a single Leads tab.
Use the exact redirect URL shown in your wizard. It must match your Google credentials exactly.
Setup is usually instant, but in rare cases Google can take a few hours for the redirect or API changes to take effect. If it does not work straight away, grab a coffee or continue with other integrations and come back later.
Start in Solar Capture settings, scroll to Google Sheets sync, and launch the guided setup.
Head over to Setup in Solar Capture settings and scroll to Google Sheets sync.
The wizard shows the exact redirect URL you need, along with shortcuts to your Google credentials and the Sheets API page.
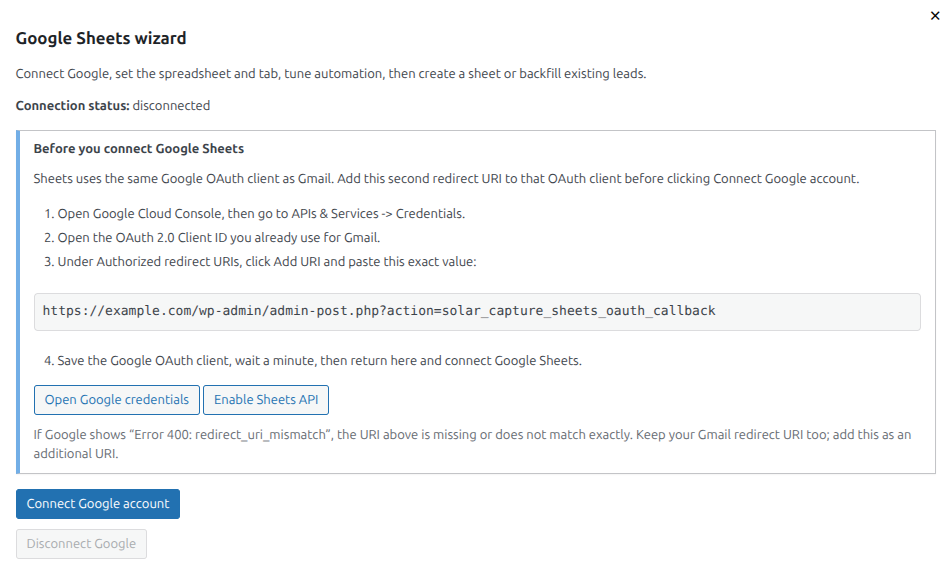
Google Sheets uses the same Google OAuth client as Gmail. Add the Sheets redirect URL as an additional authorized redirect URI, then make sure the Sheets API is enabled.
In Google Cloud Console, open APIs & Services → Credentials and edit the OAuth client you already use for Gmail.

If the Sheets API is not already enabled in your Google project, enable it before you try to connect your account.
Once your redirect URI and API setup are done, return to the wizard and connect the right Google account.
Back in the wizard, click Connect Google account.
Now decide whether Solar Capture should create a new spreadsheet for you, or sync with a tab in an existing leads sheet.
Tick Enable Google Sheets sync in the wizard.

If you are syncing with an existing spreadsheet, copy the URL segment after /d/ and before /edit. That string is your Sheet ID.
The first sync can take a few minutes. After that, syncing is usually more or less instant.

If you already had leads before turning on the integration, or if a sync ever fails, you can run a manual action from the sync controls.
You can manually send older data or rerun failed items whenever needed.

Once everything looks right, click Save. Your Google Sheets sync is now ready.
From here on, new leads should sync automatically into your chosen spreadsheet and tab.