1
Open the Google Places wizard section
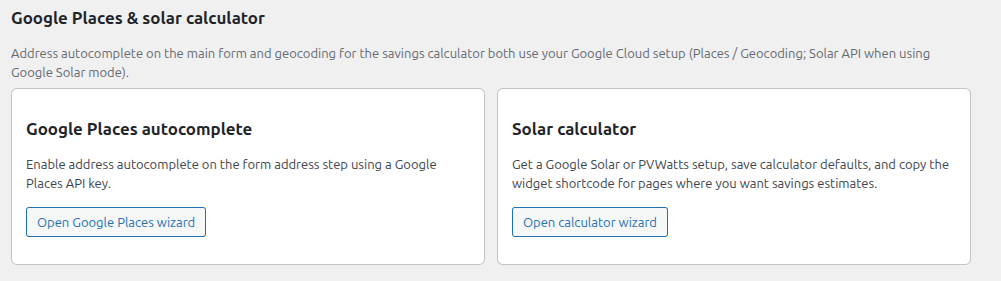
In Solar Capture, open the Google Places & solar calculator section. This is where you will eventually paste your API key.
Users can still type their address manually, but with a Google Places API key your form can autocomplete and validate addresses as they type. This setup also prepares your Google Cloud project for the solar calculator flow.
Address autocomplete on the main form and geocoding for the savings calculator both use your Google Cloud setup. In Google Solar mode, the Solar API is used when you switch that feature on.
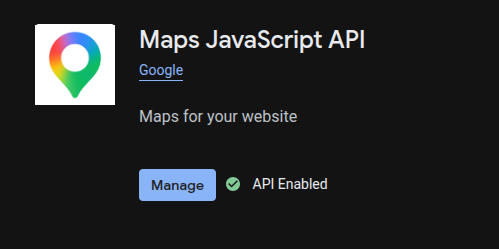
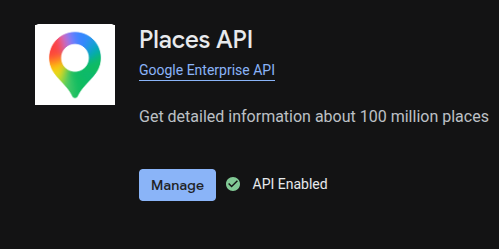
To power address autocomplete, Google Cloud needs both the Maps JavaScript API and the Places API enabled in the same project. Once those are live, you can create a locked-down API key for your website.
In Solar Capture, open the Google Places & solar calculator section. This is where you will eventually paste your API key.
Your autocomplete field runs through Google Maps JavaScript. Open that API in Google Cloud and make sure it shows API Enabled.
Next, enable the Places API in the same Google Cloud project. This allows Google to return matching address suggestions as users type.
For this setup you should create an API key, not an OAuth client or service account. For security, restrict the key to only the APIs it needs, and restrict requests to websites.
Go to APIs & Services → Credentials, click Create credentials, then select API key.

Name the key clearly, then set API restrictions so it can only access the APIs used by this integration.
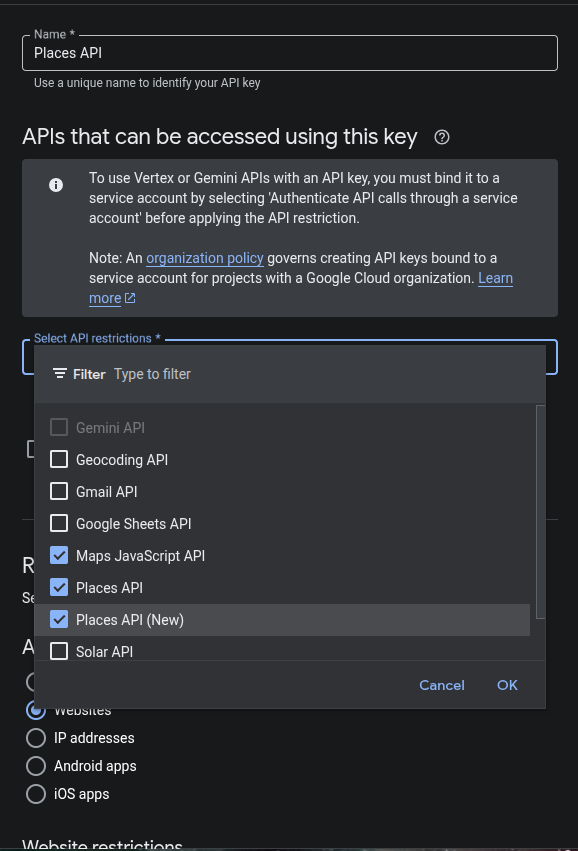
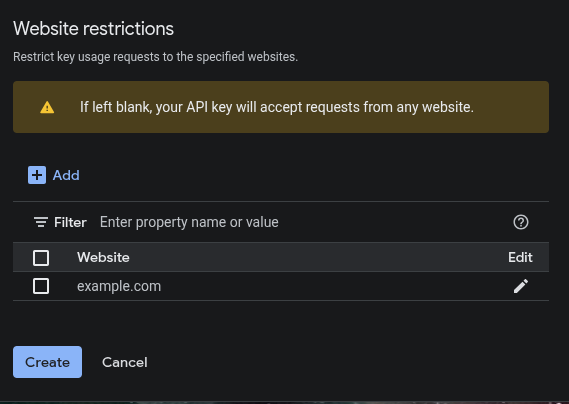
Under Application restrictions, choose Websites. Then add your website domain so the key only accepts requests from your site.
After creating the key, copy it from Google Cloud and paste it into your Solar Capture wizard. Then press Save.
Your form will now use Google Places to validate and autocomplete addresses. Users can still enter an address manually, but autocomplete will make the process faster and more accurate.
Your form can now use Google Places to validate addresses and improve data capture.